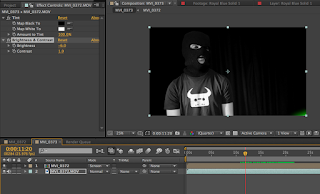
To begin the effect I dropped my footage into after effects then spent the next few hours following the movement of the model light saber I used. The reason I used a white model was to make it easier to motion track the object. I used a separate solid layer to mask around the blade I then duplicated the layer and adjusted the motion blur and colour to create a beam/laser effect.

Firstly I wanted the beam to as close to the actual movie effect I did this by using the colour correction filter. This helped me adjust the several elements of the saber to create a relaistic effect. I could further adjust the centre of the blad in order to create a thicker laser. I often used a black layer below so that I could see what I was doing.

I went through a variety of colours for various reasons because I wanted to see which one looked best and which one worked intertexually with the lyrics. The original blade was blue, then I changed it to green, then red and then back to green. I had several ideas on how to make the blade colour and the rest black and white. I firstly tried selective colour but it kept blending with the T-shirt so I had to make the blade be on a separate layer to the rest. I then went back on after effects and edited the colours on there instead of on premiere because it offered me more options in terms of layers. This allowed me to make the background easily. I just had to edited the bottom layer black and white, making sure it was similar to the rest of the music video.


No comments:
Post a Comment